Laser Diode Characterization

Optic Set-Up

Vertical Emitters

VCSELs are easiest to inspect, since the emission facet and very often at least one of the contact electrodes lay on the top side of the chip. Special care needs to be taken with the lighting to reveal all potential defects with accuracy and high contrast.
 
An inspection of the die lateral walls and bottom side is likely unnecessary. There is no major handling involved other than the frame holding the dies being moved around in front of the microscope lens.  In some cases, the negatives are either sorted out or otherwise phyically marked. In many cases though, it is sufficient to map their location on the wafer so that they are not further processed in the subsequent steps.
 
The optical inspection of vertical emitters can be easily integrated in an automatic tool that also performs the electro-optical characterization of the VCSEL and hence delivers a full picture of each device.

A quick Look from the Side

In the case of edge emitters, the new challenge are the facets located on the lateral walls of the dices which are critical to laser operation and especially important to quantify defects.
 
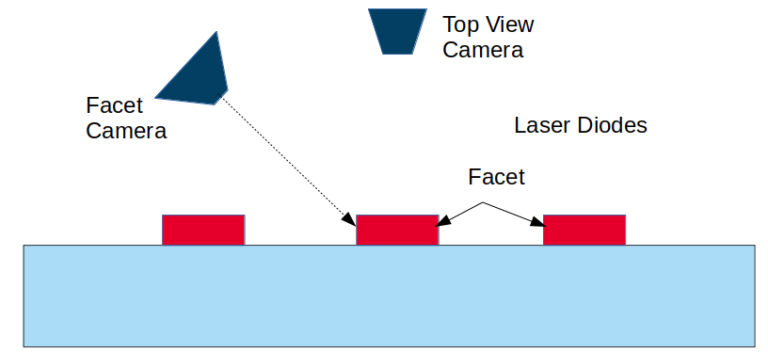
In the most simple cases, the quality of the facets can be roughly assessed by oblique observation with a camera placed at an angle from the sides of the bar. The top P-side can also be inspected without touching the device. These are the least time consuming and a sufficient way to make an optical inspection also of the facets.
 
Due to the oblique configuration, only one portion of the facet can be kept in focus. Since the active gain region of the laser diode is on the top of the substrate, this is a viable compromise. Only the top portion of the facet is focused and defects located in this part of the facet are identified.
 
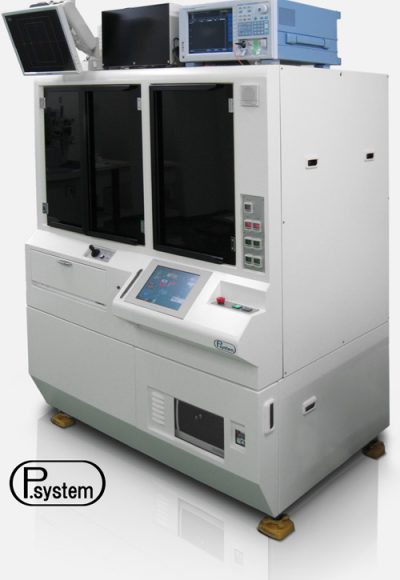
The optical system is already more complex than for vertical emitters since additional cameras looking from an angle to the sides are added to the equipment. A rotation system to look at both facets is also incorporated. The VVSP2000 is such a tool and it detects defects on the facets of 3µm size or larger although it only sees the top portion of the facet.
Optical Set-Up For Facet Inspection

This special optical set-up makes possible to take pictures from the facets without .

When highest resolution is mandatory

If the edge emitter laser has high optical power, long life requirements or both, it almost always means that high-resolution pictures of the facet are mandatory for its visual inspection. For an image with adequate resolution that covers the whole facet and not just a portion, the oblique optic set-up is not sufficient.

In this case the optic set up require that the camera lense and the facet are perfectly aligned. Some systems hold the device with a robot arm in front of the camera lens but they are more susceptible to bad resolution due to vibrations than systems that actually place the diode on a stage.

Due to the amount of pixels on the CCD chip as well as the camera telescope optics, the whole device facet often cannot be covered by one field of view of the camera. Hence, the reconstruction of an entire
device image from several image sequences is required.

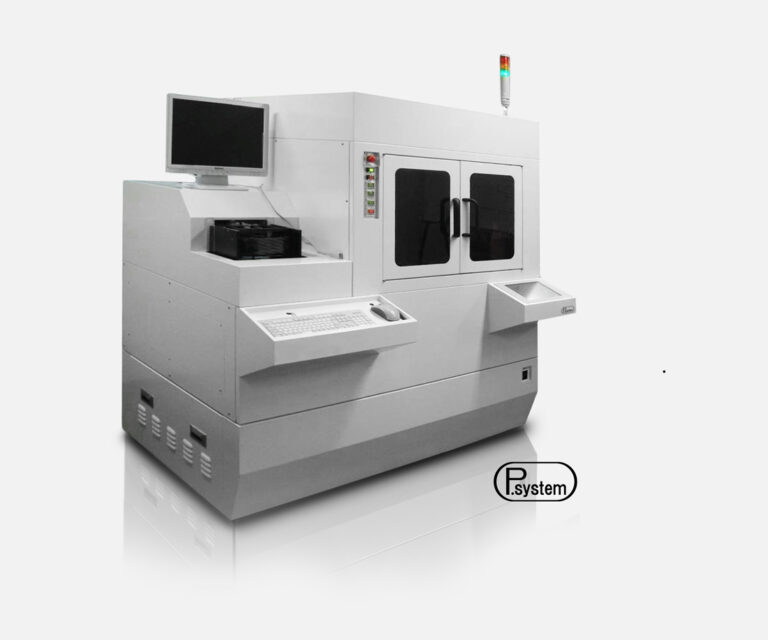
The OptoSystem tool picks up the laser bar and takes the necessary amount of pictures from all sides, even from the bottom. After the classification of the pictures by the algorithm, the bar is either returned to the original container, placed in a new container, or scrapped depending on the specific customization. The pictures can be saved on an HDD for later analysis as well. The optical inspection can be realized as a stand-alone machine (VVSP4000) or integrated into another machine such as an unstacker (VKSV3000) or a tester.

To increase the signal to noise ratio for the classification algorithm not only the camera resolution and its focus but also the illumination are essential factors. The engineers of OptoSystem take pride in the perfect setup of all these necessary conditions and make it very accessible and easy to self-adjust for future optimizations after delivery.
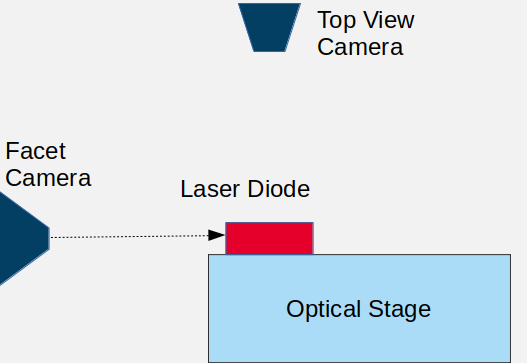
Optical Set-Up with a dedicated optical stage

High resolution images are feasible with a dedicated optical stage on which the laser bar rests. After all pictures of one facet have been taken, the stage is rotated 180° and the facet on the opposite side is visually inspected.

Throughput
An important parameter to be considered in mass manufacturing is the processing speed or throughput. This depends on the mechanical set-up and the utilized algorithms. Actually the time required to not only process but also saving large size pictures into a HDD can be a source of drag.
 
Systems with oblique optical set-up are quicker because they do not handle the chip but the speed of handling systems can be increased by using parallel stages that take pictures independently from each other.
 
By increasing the amount of tasks that a single tool can do, also time is saved overall. This especially applies when the optical inspection and the electro-optical characterization is integrated into one tool. Or when the optical inspection is done in the same tool that unstacks the bars from the coating jig.
 
OptoSystem is happy to provide estimations based on your device size, needed resolution, and budget.
Visual-Inspection-Sorter-VVF4000-aricle

The optical inspection tool from OptoSystem with dedicated optical stage is best for high resolution pictures. It also provides flexibility since the optical stage is not vulnerable to tool vibrations caused by other moving parts.

Do you like what you see?

We value your feedback, so let us know what you think!

Let us also know which topics you would like to see expanded.

Just give us a call, send us an e-mail or use the form to contact us.